
Quick Start Guide
This guide is a high level overview of how DSPCRM works. By the end of it you’ll have set up a service, created an order form, and placed a (completely free) test order to see how it all flows together.
The Basics
Let’s go over some core concepts first, starting from simple invoicing…
Invoicing
As an agency you’ve probably made invoices and sent them to clients. Here’s how you create an invoice in DSPCRM:
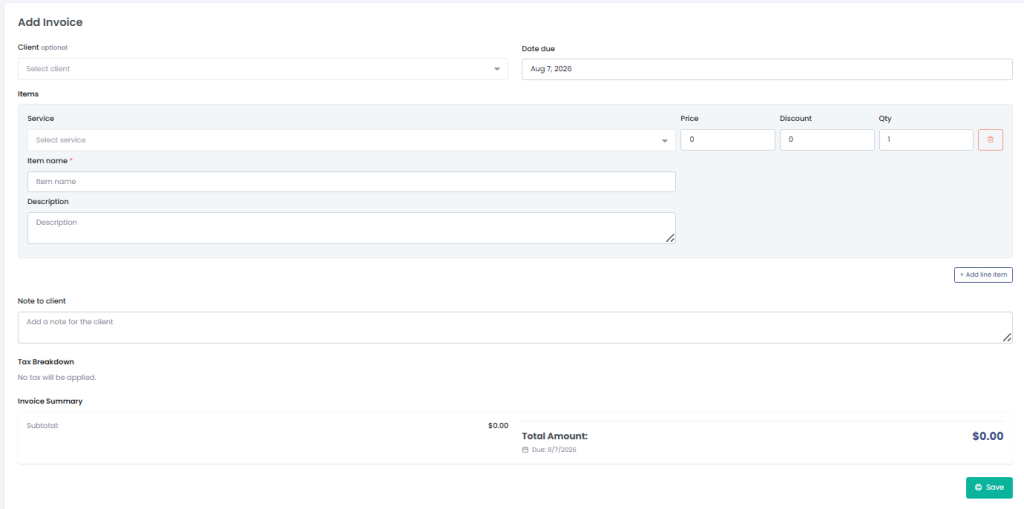
In this example we haven’t picked a client because their profile is not set up yet. We can still share the payment link because a client account will be created automatically when the invoice is paid.
Orders
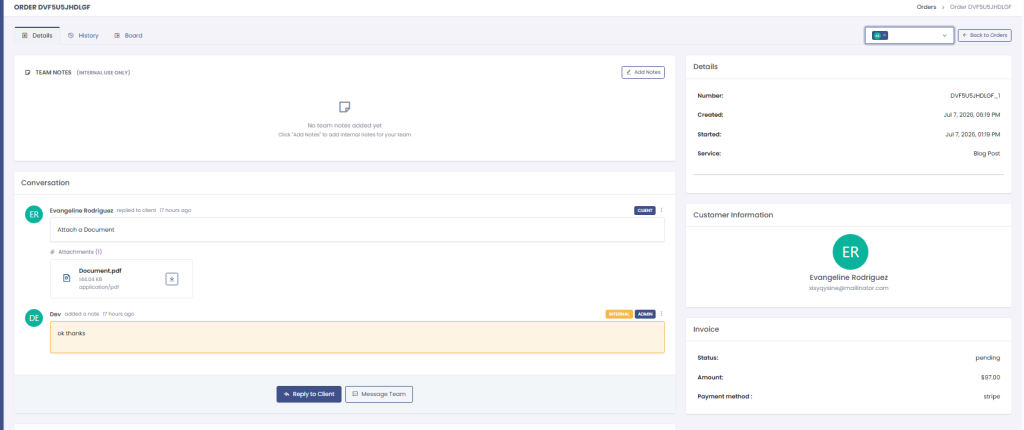
As soon as an invoice is paid it creates one or more orders. Think of them as “projects” that have all the details you need inside. You can send messages, change the status, add tags and much more.
Services
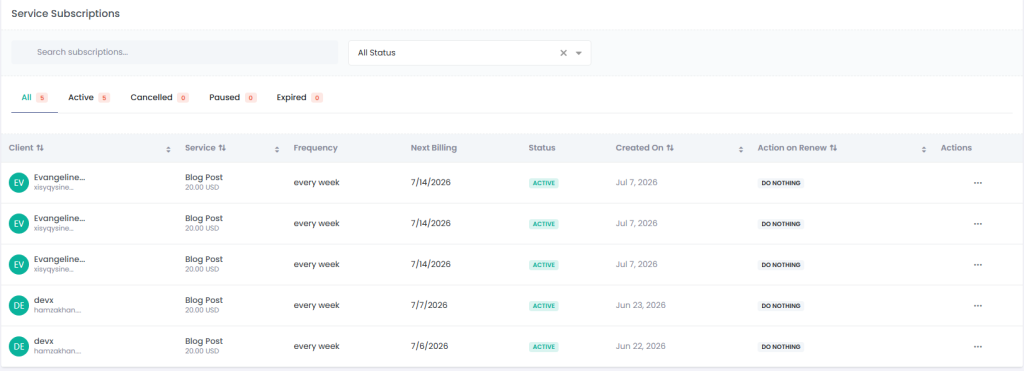
Wouldn’t it be easier if instead of typing in a line item and price, you could pick from a list of predefined services? If you’ve set up your services you can choose them when creating an invoice.
Minimal Setup
By now you understand how clients can purchase services through order forms, make invoice payments, and provide their information in intake forms.
Let’s get your new workspace set up:
- Go to Settings → Company to set your company name and branding.
- Go to Settings → Payments and connect Stripe.
- Go to Services → Add New to create a service.
- Go to Forms → Order Forms → Add New to add an order form with your new services.
Now we can test how it works…
Test The Payment Flow
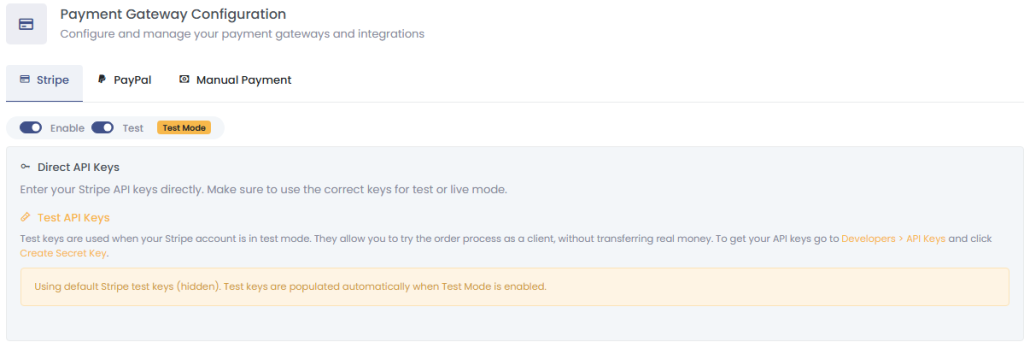
Payment processors like Stripe let you make test purchases without using a real payment method. First, go to Settings → Payments and make sure your workspace is in “test mode”:
Next Steps
- Add your custom domain
- Set up more services
- Set up more forms